How to Reverse Clips in After Effects
When it comes to making videos or motion graphics play backwards, you have a few different techniques you can use in After Effects.
Time-Reverse Keyframes
To reverse specific keyframes select them, then right click on the selection and choose Keyframe Assistant > Time-Reverse Keyframes.
This will horizontally flip the keyframe selection along with any easing properties.

Time-Reverse Time Remap
You might want to reverse an actual video clip or an entire comp -- which might not have keyframes itself. Time Remapping lets you add keyframes, which you can then use to adjust the speed and timing of the layer.
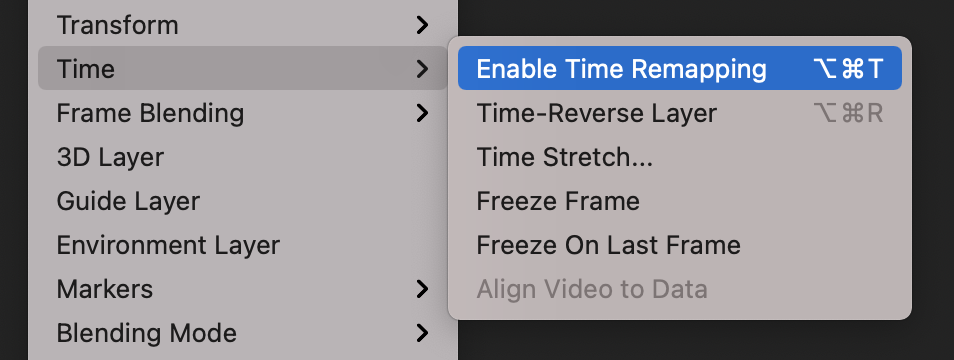
To enable Time Remapping right click on the layer and select Time > Enable Time Remapping.

This will create 2 keyframes; one at the beginning of the layer and one at the end. Using the Time-Reverse Keyframes technique, you can reverse the timing and your clip will now play backward.
Time-Reverse Layer
Time stretching can be applied to any layer (including pre-comps). This lets you change a layer to any speed, including a negative value.
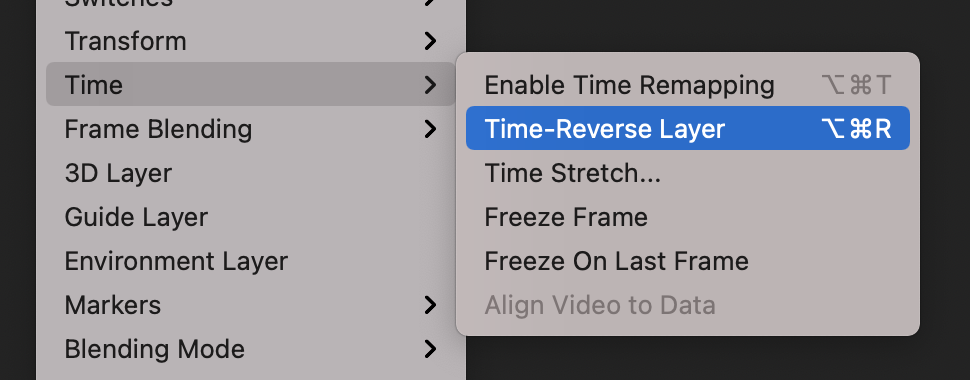
Right click on the layer and select Time > Time-Reverse Layer... You can also get to this value from the Stretch column in your project timeline.
This will change the time stretch value of the layer to -100%, which will make the clip play backwards, including any keyframes.

You can also adjust the Time Stretch value by right clicking on the layer and selecting Time > Time Stretch...or from the Stretch column in your project timeline. Unlike Time Remapping, Time Stretching is non destructive, meaning you can readjust speed anytime or revert it 100%.
Use Speed for After Effects
While there are native ways to reverse layers in After Effects, there are some limitations. Speed is an After Effects plugin that helps overcome those limitations and makes it way faster to make timing adjustments.
With Speed, you can reverse an entire selection of layers or keyframes. You can also specify how you want the speed to be adjusted (shift keyframes, time stretching, time remapping) based on the layer type (normal layer, comp, footage, audio).
